DIY Wood Ornament Craft for Summer
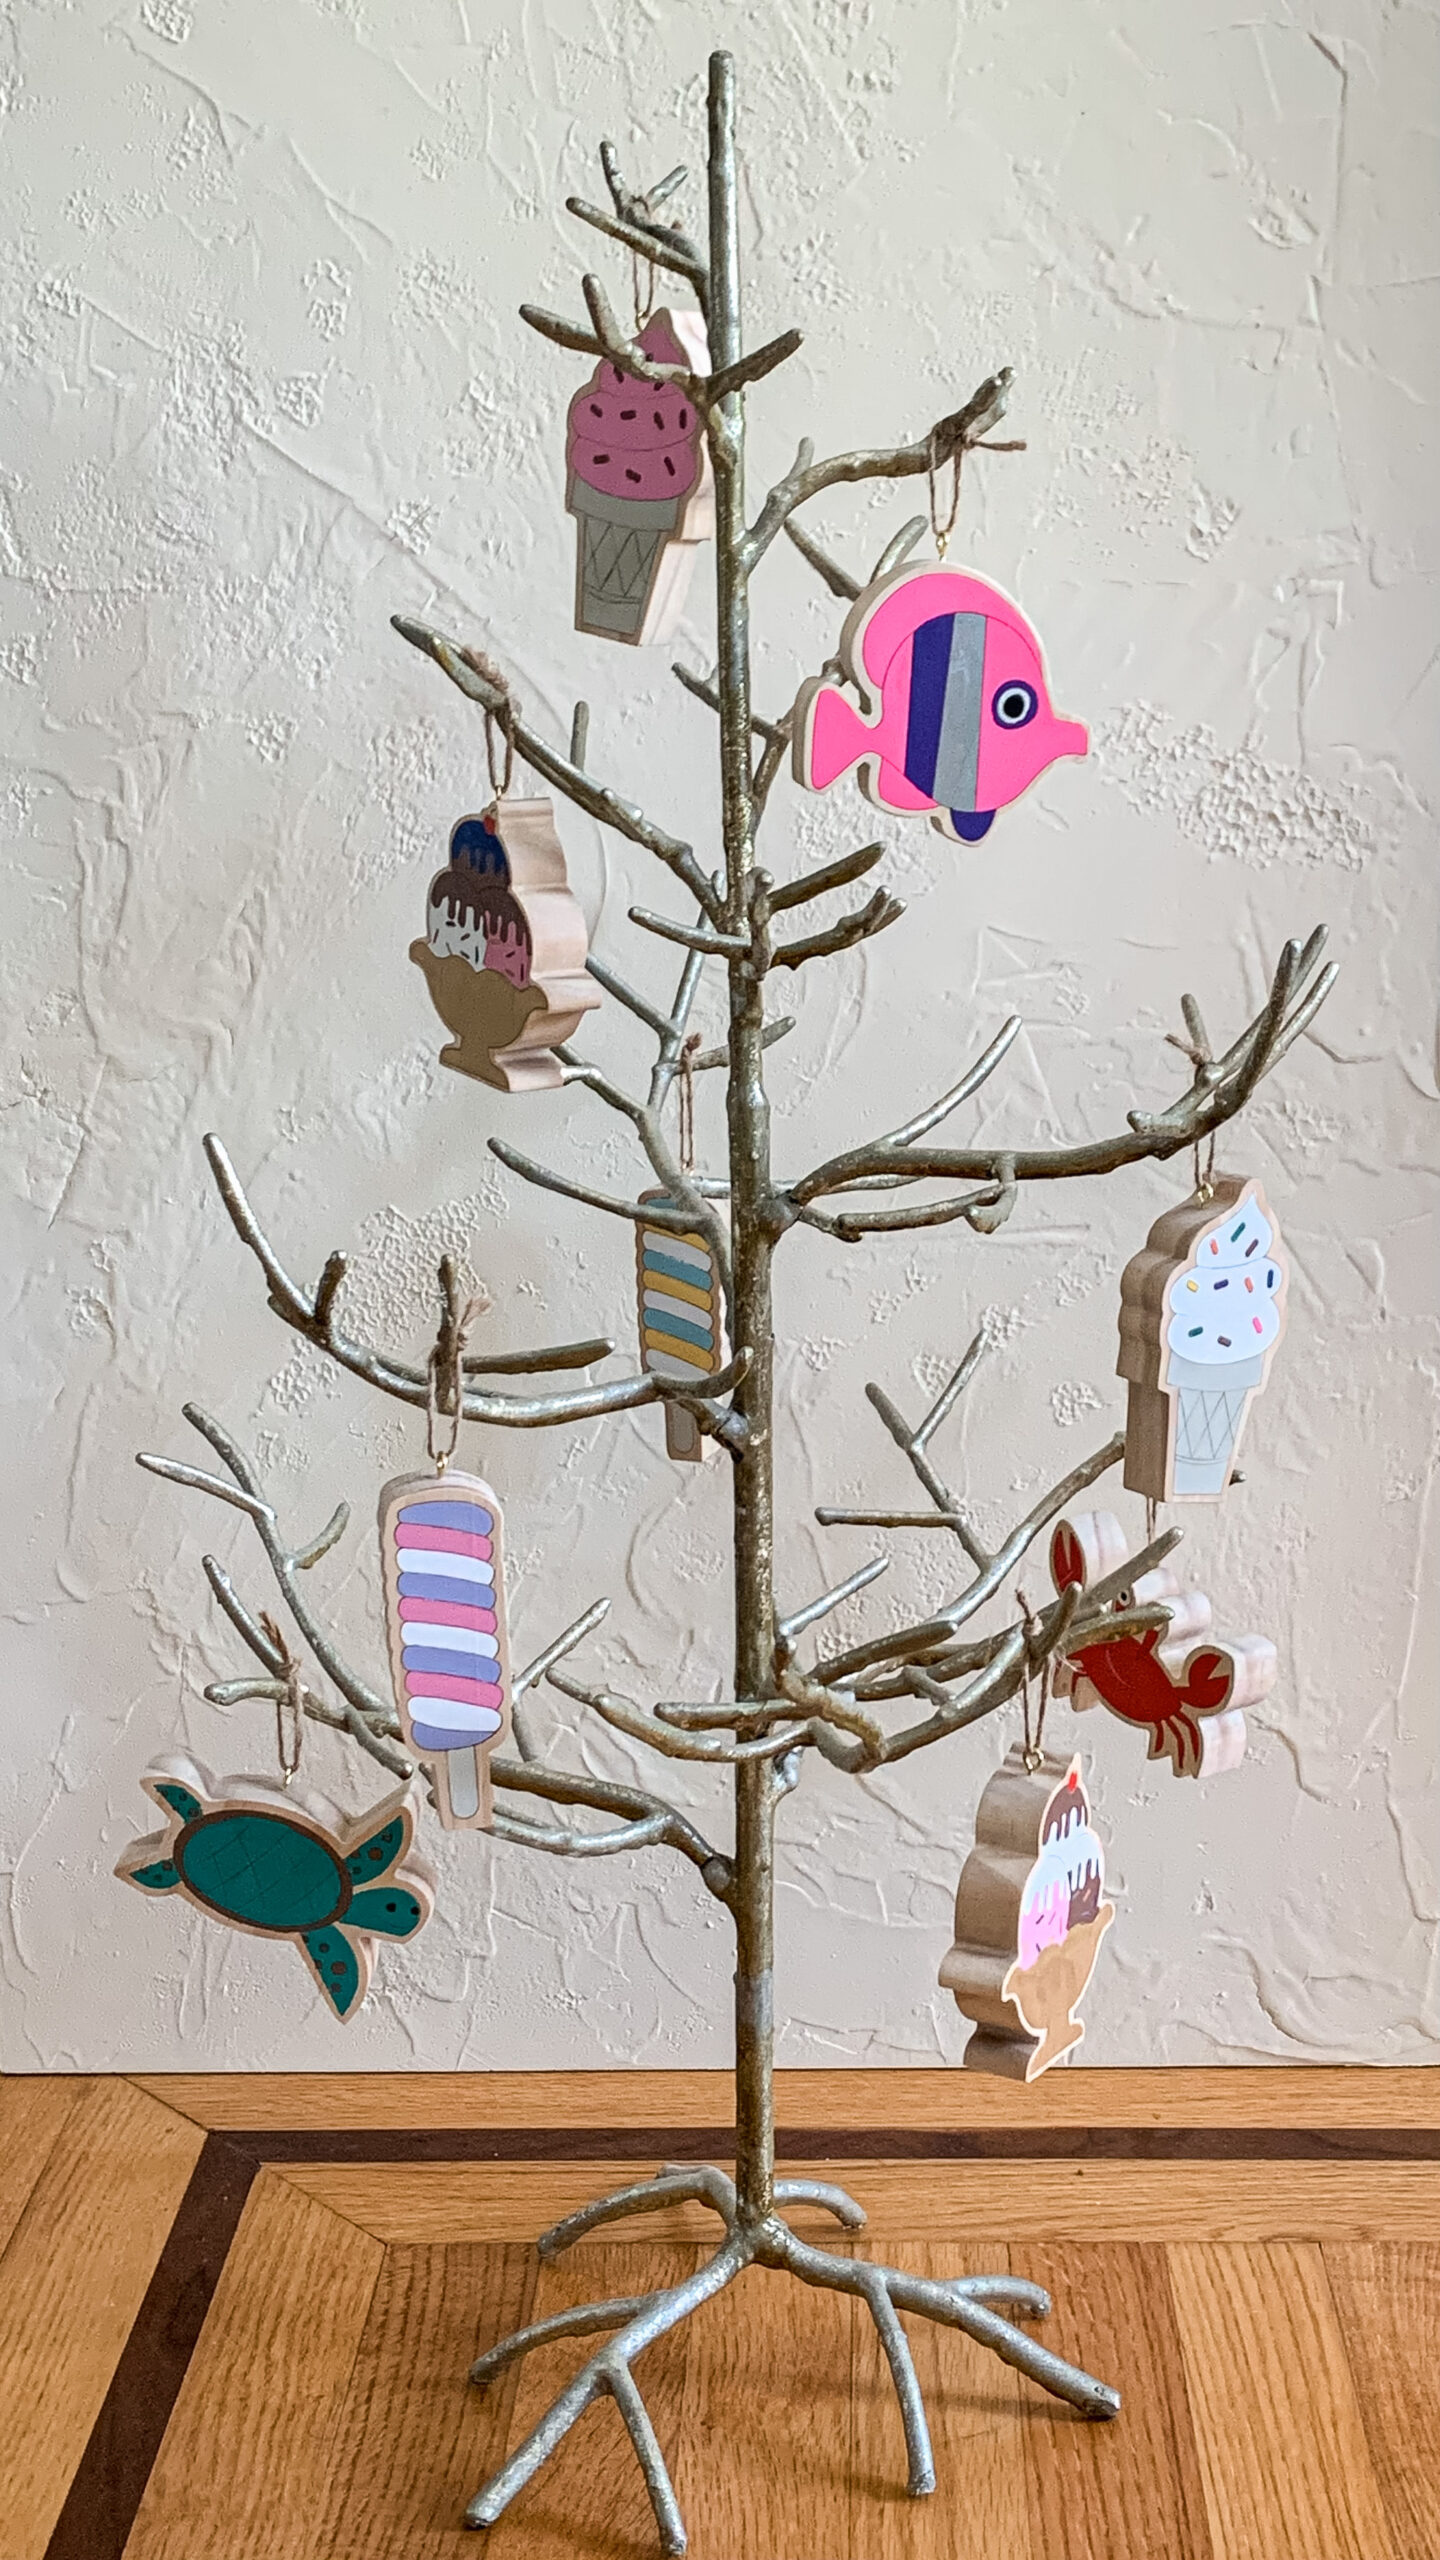
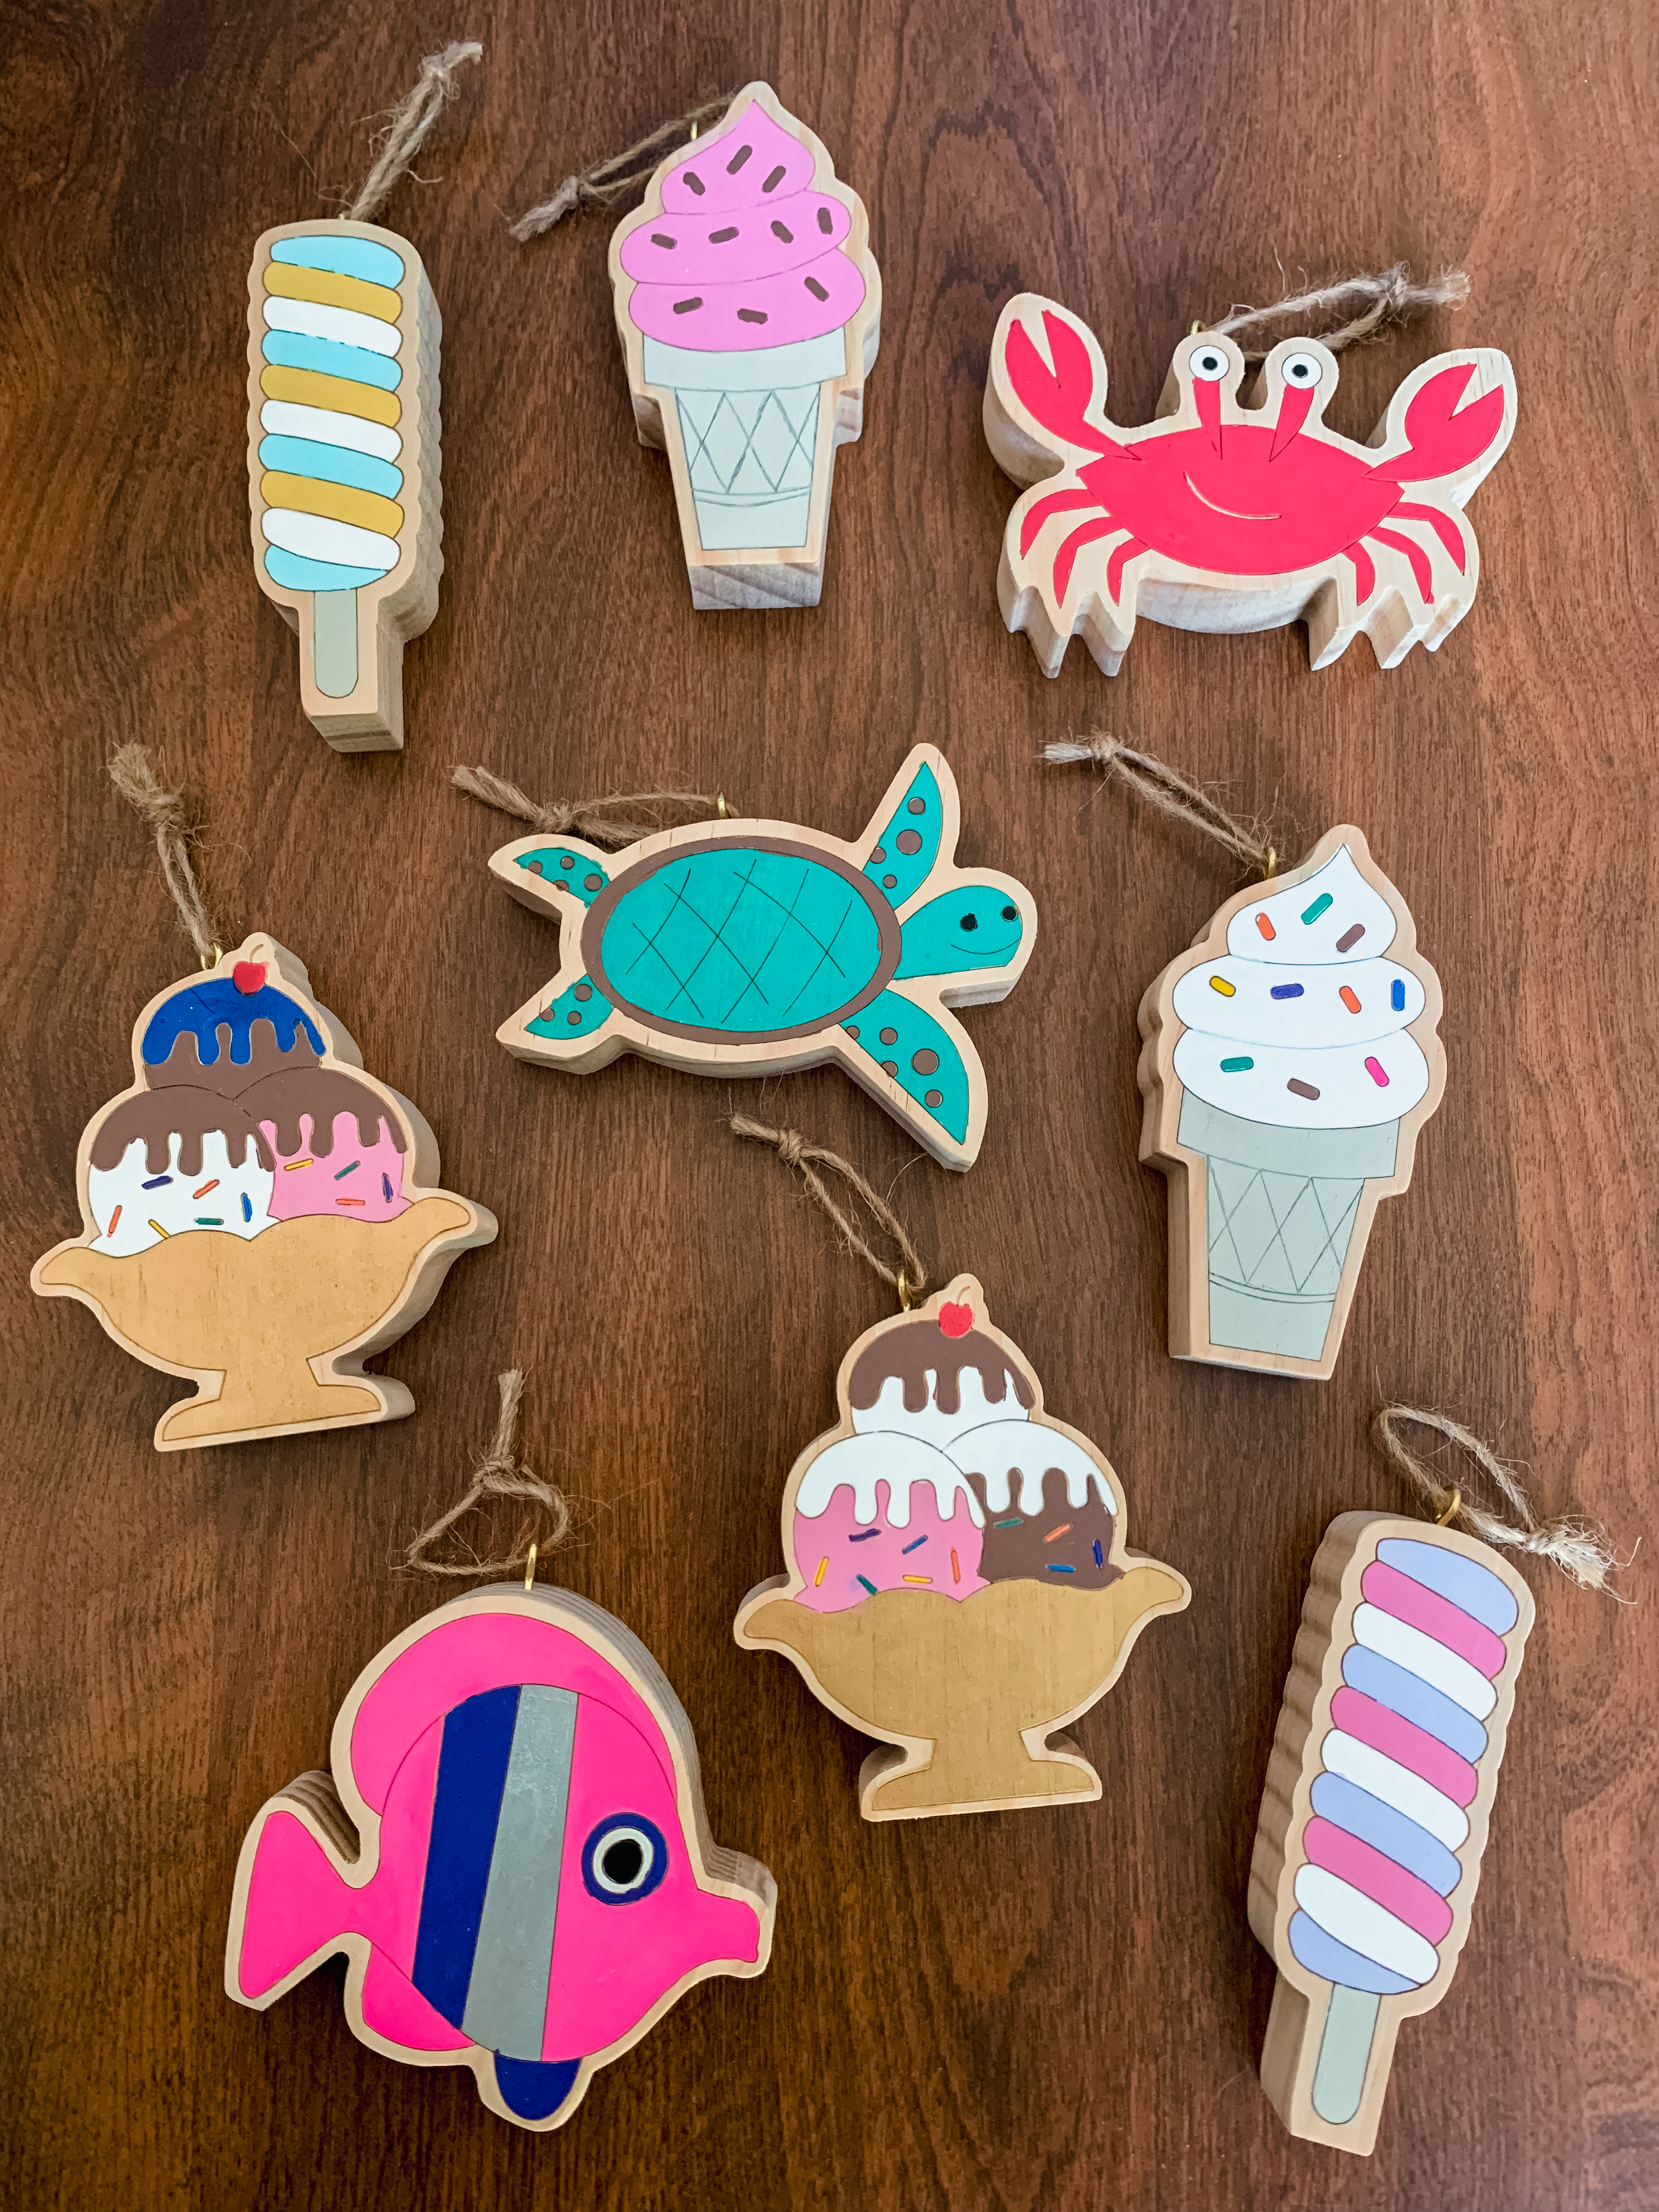
I am super excited to share my latest craft with you all! I have this decorative tree that I like to decorate for each season/holiday, but I didn’t have anything that I really loved for the summertime. So, I went on the hunt for some adorable summer-themed ornaments to jazz up my tree. I had been looking for a few years now because I really wanted something made of wood that I could paint, stain, or decorate however I wanted, and this time, I hit the jackpot! I found these awesome DIY wood craft kits at Target. Because I was looking for a summer theme, I bought the ice cream and sea creature kits, but they also have flowers, butterflies, dinosaurs, spaceships, and even cars. These kids wood craft kits would be a super fun and easy craft for busy moms or even teachers.
Now, here’s the best part: each kit comes with everything you need to paint/decorate the wood cutouts, including three wood cutouts, two paint brushes and six different colors of paint. But, I decided to go a step further and use some of the art supplies I already had at home. Mixing and matching colors, adding a personal touch to these cutouts was so much fun! These wooden beauties turned out even more fabulous than I imagined, and I can’t wait to show off my summer tree décor. So, let’s get crafting together!
WHAT YOU WILL NEED FOR THIS PROJECT:


or Mondo Llama Paint-Your-Own Ice Cream Kit I used two of each because I couldn’t decide which I liked better. Each kit comes with three wood cutouts, so depending on the size of your tree I would suggest using at least 2 kits which will give you six ornaments.
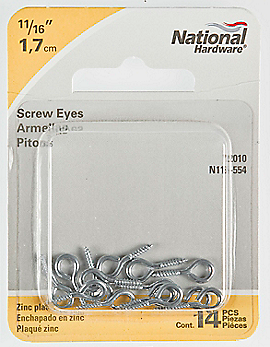
2. Screw Eyes 11/16″ I used two packages of these. Just be sure you have one screw eye for each wood cutout. In addition, you may need to get a different size screw eye depending on the type of string or ribbon you plan to use.
3. Drill and Drill Bits If you do not have a drill, you can borrow one from a friend/family member or rent one from a hardware store. You will need a drill bit that is slightly smaller than the screw on your screw eyes.
4. String or Ribbon I used twine that I already had on hand. If you do not have any, you can find various types of string, twine, ribbon, etc. at the dollar store.
5. Bench Vise or an extra hand You will need someone/something to hold the wood cutouts steady while drilling the hole.
6. OPTIONAL: extra embellishments (glitter, sequence, buttons, pompoms, etc.) or craft supplies (additional paint colors, paint brushes, paint pens, etc.) I used my own paints and paint brushes as well as paint pens that I already had, because I wanted particular colors. That being said, the kits come with plenty of paint if you do not have your own.
7. OPTIONAL: Sealant I did not use one, but you may want to use one if your ornaments need to withstand a lot of handling. Especially, if you have children who may play with them. You can use a clear acrylic sealer or mod podge.
TIPS AND TRICKS:
- Prepare Your Workspace: Set up a dedicated workspace with a protective covering to catch any paint drips or spills. Keep paper towels or wet wipes handy for quick clean-ups.
- Test the Paint: Before diving into painting your ornament, test the paint on a small section of the wood or on the backside of the ornament. This way, you can get a feel for the paint’s consistency and how it looks on the wood surface.
- Start with Light Colors: Begin by using lighter colors as a base. It’s easier to cover up lighter shades with darker colors if needed. This technique helps you achieve a more even and professional-looking finish.
- Use Multiple Brushes: The kit comes with two brushes, consider using both brushes or additional brushes in different sizes for more versatility. This allows you to paint finer details and larger areas with greater ease.
- Layer and Blend: Don’t be afraid to layer colors and blend them together. This can create beautiful gradients and add depth to your ornament design.
- Patience is Key: Let each layer of paint dry completely before adding the next. Patience ensures you avoid smudging and can achieve crisp lines and vibrant colors. I like to spread out projects to multiple days if possible, so I can walk away and come back with a clear head and fresh eyes.
- Add Details Last: Save the fine details and outlining for the final step. This prevents accidental smudging while you work on other areas of the ornament.
- Embrace Imperfections: Remember, these ornaments are meant to be hand-painted, and imperfections add character! Embrace any quirks in your design and enjoy the unique charm of your finished creations.
- Personalize Your Ornaments: Get creative and add your personal touch! Add quotes or details to make the ornaments even more special.
- Seal the Finish: Once you’re satisfied with your painted ornaments and they’ve fully dried, consider sealing them with a clear acrylic sealer or mod podge. This helps protect the paint and adds a professional finish. I would recommend doing this if you want your ornaments to withstand a lot of handling.
- Have Fun and Relax: Crafting is all about having fun and letting your creativity flow. Don’t stress about making it perfect; enjoy the process and the satisfaction of creating something with your own hands.
CHECK IT OUT!
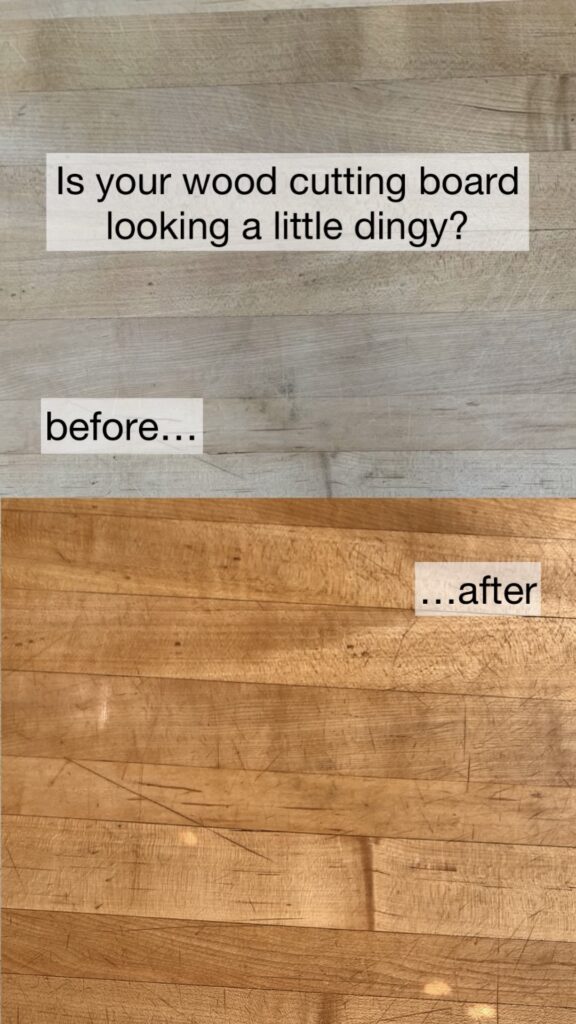
How to Refinish a Wood Cutting Board

SAFETY PRECAUTIONS:
When using a drill, safety should always be a top priority. Here are some essential safety precautions to follow:
- Eye Protection: Always wear safety glasses or goggles to protect your eyes from flying debris, especially when drilling into materials like wood, metal, or concrete.
- Appropriate Clothing: Avoid loose clothing, jewelry, or anything that could get caught in the drill. Wear fitted clothing and tie back long hair to prevent accidents.
- Stable Work Surface: Ensure your workpiece is securely clamped or held in place. A stable work surface prevents slips or wobbling that could lead to injuries.
- Proper Grip: Hold the drill with a firm grip and both hands to maintain control. Avoid using excessive force that might cause the drill to kick back.
- Drill Bit Inspection: Before use, check the drill bits for any damage or dullness. Damaged or worn-out bits can lead to accidents and poor results.
- Cord Management: For corded drills, keep the power cord away from the drill bit’s path. This prevents accidental damage to the cord and reduces the risk of tripping.
- Battery Safety (For Cordless Drills): If using a cordless drill, handle and store the batteries properly. Keep them away from extreme heat or cold and avoid dropping them.
- Switching Off: Always switch off the drill and unplug it (if corded) before changing drill bits or making adjustments.
- Protective Equipment: Depending on the project, you may need additional protective equipment, such as ear protection if the drill is particularly loud or a dust mask when drilling into materials that produce fine particles.
- No Hand-Held Sanding: Avoid using the drill for hand-held sanding. It’s not designed for this purpose and can lead to accidents.
- Work in a Well-Ventilated Area: When drilling materials that produce dust or fumes, work in a well-ventilated area to prevent inhalation of harmful substances.
Always read the drill’s user manual and familiarize yourself with the specific safety guidelines provided by the manufacturer. Following these safety precautions will help ensure that you can use your drill effectively and without unnecessary risks to your safety.
STEP-BY-STEP INSTRUCTIONS:
- Prepare Your Workspace: Set up a dedicated work area with a protective covering (newspaper, parchment paper, drop cloth, old linens, etc.) to avoid any paint spills or drips on your surfaces. Gather all the materials you need and have paper towels or wet wipes nearby for easy clean-up.
- Secure the Wood Cutout: Before starting to drill, secure the wood cutout in a vise to keep it steady while you work. This ensures you have better control when drilling. I recommend wrapping part of the wood cutout in an old cloth to protect it from the vise. This will prevent an indentations that the vise may leave behind.
- Drill a Pilot Hole for the Screw Eye: Using a drill and a drill bit slightly smaller than the screw eye, carefully drill a small pilot hole at the top of the wood cutout (or wherever you want the ornament to hang from). This will make it easier to insert the screw eye later on.
- Paint
- Add Details (optional)
- Seal the Ornaments (optional): To protect the paint and ensure the ornaments can withstand frequent handling, apply a clear acrylic sealer or mod podge by following the directions on the package. Consider applying multiple coats for added durability and let each coat dry completely before applying the next.
- Insert the Screw Eyes: After the paint and sealer have dried, insert the screw eyes into the pre-drilled holes at the top of each ornament. Gently twist them in until they are securely in place.
- Attach String or Ribbon: Cut a length of string or ribbon and thread it through the loop of the screw eye. Tie a knot or bow at the top, creating a secure loop for hanging.
- Enjoy Your Finished Ornaments: Your painted wood ornaments are now complete and ready to hang! Display them proudly on your decorative tree or use them as unique gifts for friends and family.
Remember to enjoy the creative process and have fun making these beautiful and durable painted wood ornaments. This creative process can be easily repeated using other craft kits or wood cutouts for various seasons and holidays, allowing you to enjoy a year-round display of beautifully painted ornaments. Happy crafting!